The basics of waxing your surfboard
Share
The basics of waxing your surfboard
Posted on: Saturday July 14th, 2018
Written by: Surf N Sea
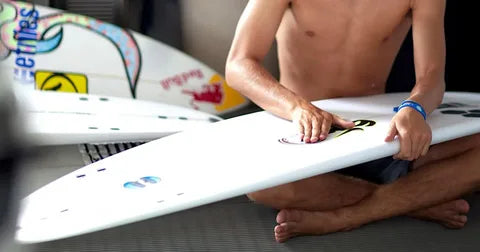
Surfboards need regular maintenance to ensure they continue to perform. Part of that includes waxing your surfboard
To wax your surfboard:
Gather your supplies:
Basecoat wax
A top coat of wax
Wax comb
Wax cleaner and cleaning supplies (such as a Pickle)
Many surf shops carry these supplies!
Clean the board:
When your wax gets old and dirty it’s a good idea to remove and reapply a new coat. Remove old wax by scraping with the straight edge of the wax comb; don’t forget to clean the rails and any wax that may be on the bottom of the board. A useful wax removal tool called the Pickle makes the Job much easier. Once the wax is completely removed and the board looks glossy it’s ready for a new coat!
Add a basecoat:
This helps the longevity of the wax job; your topcoat of wax clings to this coat to stay on. Wax until the basecoat forms small bumps.
Use the proper technique:
When applying wax, use one of several techniques —
- Small circles, moving up and down the board
- Straight light up and down the board, parallel to the rocker
- Cross hatch pattern
For a longboard, wax the entire topside. For a short board, wax the topside from the front logo to the tail.
Add a top coat:
Find a wax that is suited for the temperature of the water you’re surfing in. Wax over the area you just waxed with basecoat using any of the above techniques.
Comb the wax:
Run your wax comb through the wax on your board in a diagonal crosshatch pattern. This roughs up the wax, allowing you to grip even better. Spray with cool water to make the wax harden.
Use the wax comb each time you surf if you haven’t applied a new topcoat. This will help keep traction without applying new wax.